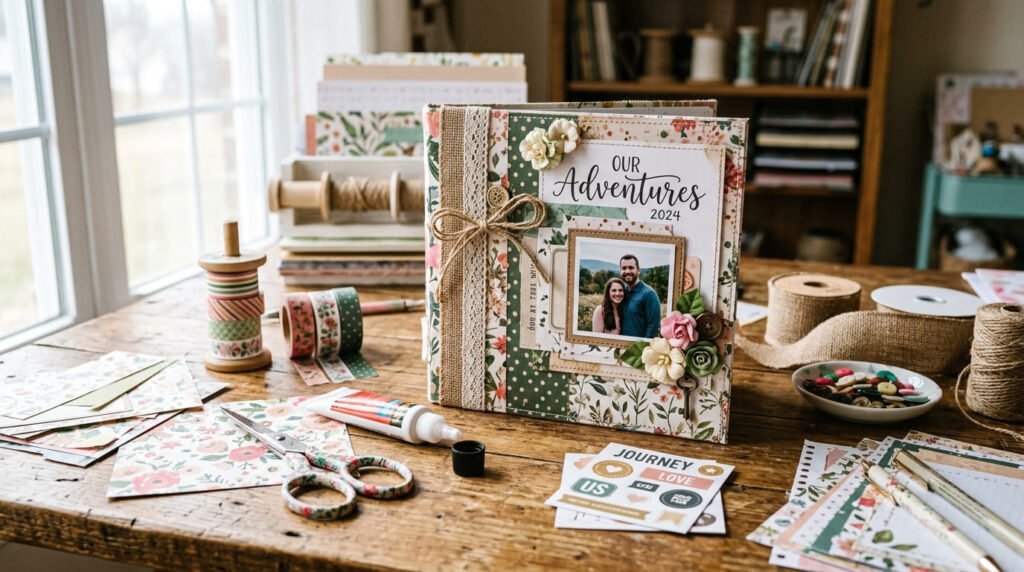
A scrapbook cover is the first thing people see, so it should feel special before they even open the first page. The good news? You do not need expensive tools or professional bookbinding skills to make one. With cardboard, pretty paper, glue, and a few decorative touches, you can create a cover that looks handmade, personal, and beautiful.
A creative scrapbook cover can match any theme—birthday memories, wedding photos, baby milestones, travel adventures, school projects, or friendship keepsakes. It can be soft and floral, bold and colorful, vintage and cozy, or clean and modern.
Gather Your Simple Supplies
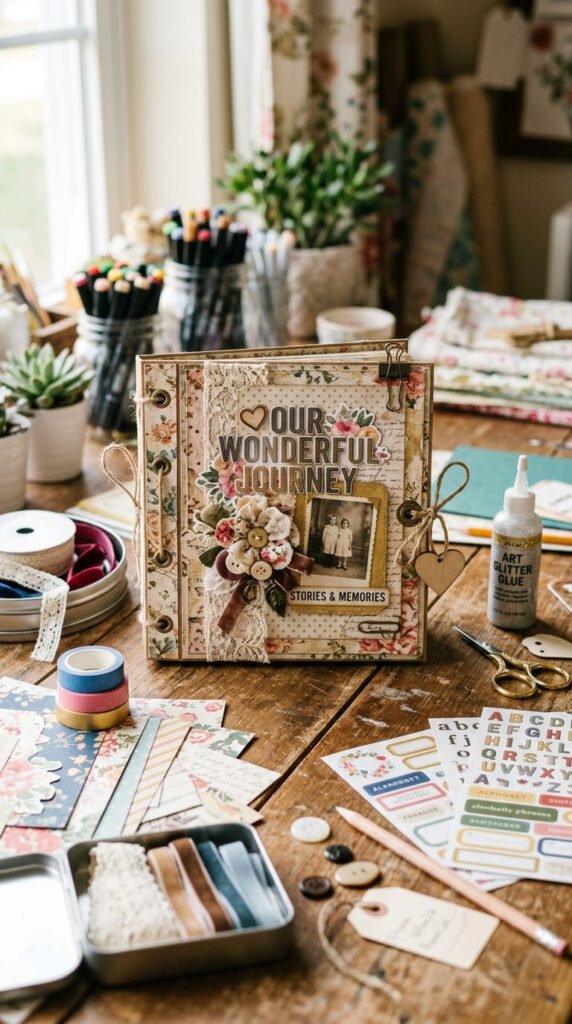
Start with basic materials. You can keep it budget-friendly and still make the cover look polished.
You will need:
- Thick cardboard or chipboard
- Patterned paper, cardstock, or fabric paper
- Glue stick or craft glue
- Double-sided tape
- Scissors or craft knife
- Ruler
- Pencil
- Ribbon, stickers, labels, or paper flowers
- Bone folder or any smooth tool for pressing folds
- Plain paper for the inside cover
Cardboard from packaging boxes works well for a budget version. If you want a stronger, more professional cover, use chipboard. Cardstock is great for wrapping because it comes in many colors and patterns.
Choose Your Scrapbook Size and Theme
Before cutting, decide the size of your scrapbook. A common handmade size is 8×8 inches or 6×6 inches. Smaller albums are easier for beginners, while larger ones are better for full photo layouts.
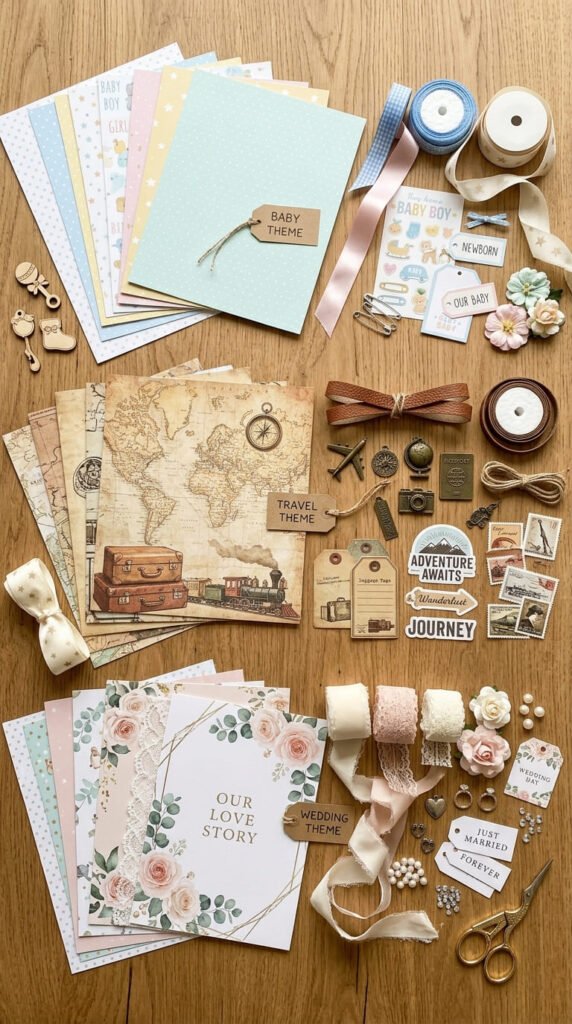
Then choose your theme. This will guide your colors and decorations.
Popular scrapbook cover themes include:
- Birthday: bright colors, balloons, stars, and number cutouts
- Wedding: cream, gold, lace, pearls, and floral paper
- Baby: soft pastels, clouds, animals, and tiny bows
- Travel: maps, tickets, kraft paper, and vintage labels
- Friendship: cute stickers, photos, hearts, and handwritten tags
A clear theme helps your cover look planned instead of crowded.
Cut the Front, Back, and Spine
A scrapbook cover usually has three main parts:
- Front cover
- Back cover
- Spine
Cut two equal pieces of cardboard for the front and back. Then cut a narrow strip for the spine. The spine width depends on how thick your scrapbook pages will be.
For a simple beginner scrapbook, try:
- Front cover: 8 x 8 inches
- Back cover: 8 x 8 inches
- Spine: 1 to 2 inches wide
Leave a small gap between the spine and covers when wrapping. This gap helps the cover open and close smoothly. About 1/8 inch gap on each side of the spine usually works well.
Wrap the Cover with Pretty Paper
Place your front cover, spine, and back cover on the back side of your wrapping paper. Keep the small gaps around the spine.
Cut the wrapping paper larger than the cardboard. Leave about 1 inch extra around all sides so you can fold it over the edges.
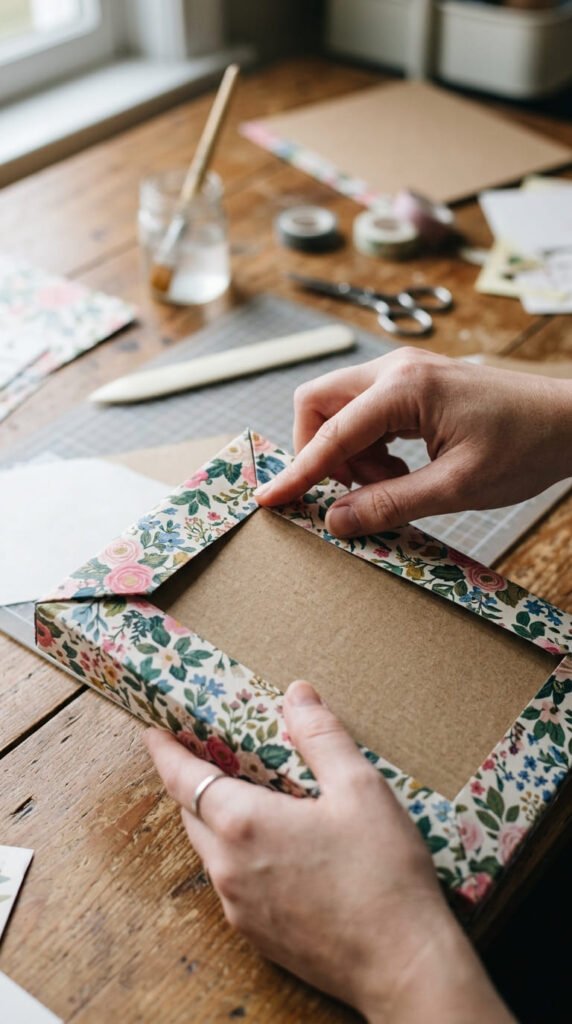
Add glue or double-sided tape to the cardboard. Carefully press it onto the paper. Smooth it with your hands or a bone folder to remove bubbles.
Then fold the extra paper around the edges and glue it to the inside. Work slowly so the corners stay neat.
For clean corners:
- Trim the paper corners at an angle.
- Do not cut too close to the cardboard.
- Fold one side in first, then the next side.
- Press firmly so the paper stays flat.
Finish the Inside Cover
The inside of the cover should look clean too. Cut two pieces of plain or matching paper slightly smaller than the front and back covers. Glue them over the folded edges on the inside.
This hides the rough edges and gives the scrapbook a finished look.
You can use:
- Plain white paper
- Kraft paper
- Matching cardstock
- Patterned paper
- Soft pastel paper
If your scrapbook is a gift, this is also a nice place to add a small message, date, or name label.
Decorate the Front Cover
Now comes the fun part—decorating.
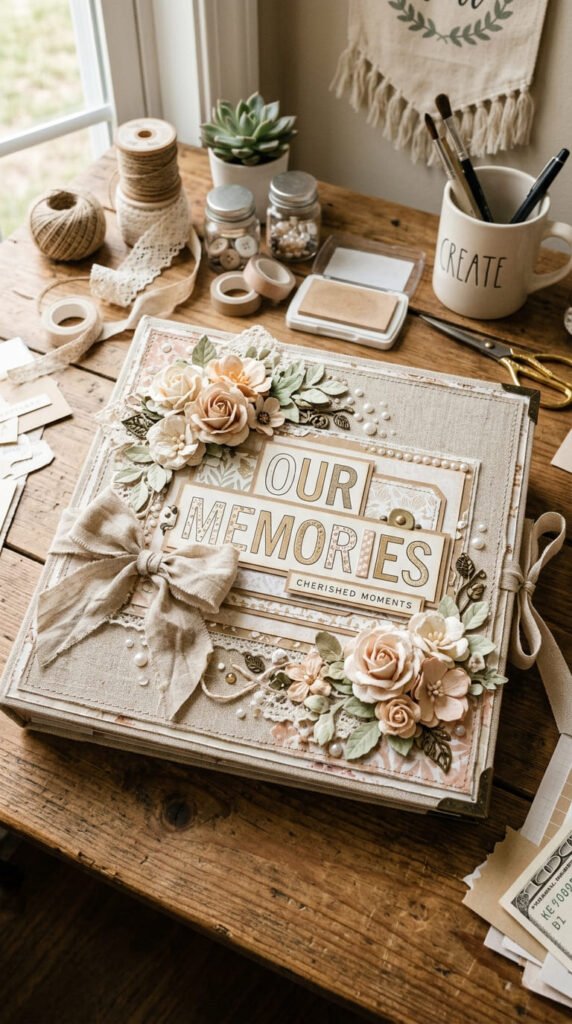
Start with one main focus point. This could be a title label, a small photo, a paper flower cluster, or a layered tag. Then add smaller details around it.
Pretty decoration ideas include:
- Ribbon across the cover
- Paper flowers in one corner
- Stickers that match the theme
- A small photo frame
- Layered paper shapes
- Washi tape borders
- Handwritten title cards
- Pearl stickers or buttons
Try not to cover every inch. A little empty space makes the design look cleaner and more stylish.
For a beautiful look, layer different textures. Mix smooth cardstock with lace, ribbon, kraft paper, or raised stickers.
Add a Personal Touch
A scrapbook cover feels more meaningful when it has something personal on it.
You can add:
- A name
- A special date
- A short quote
- A favorite photo
- Initials
- A tiny envelope
- A handmade tag
For example, a travel scrapbook could have a mini map and the year of the trip. A baby scrapbook could have the baby’s name and birth date. A friendship scrapbook could have a cute photo and a sweet handwritten title.
Personal details make the cover feel like a real keepsake, not just a craft project.
Tips for a Polished Finish
Small details can make your scrapbook cover look much more professional.
Keep these tips in mind:
- Use strong glue so the cover does not peel.
- Press the cover under heavy books while it dries.
- Keep decorations balanced, not too crowded.
- Match your colors to the theme.
- Use a ruler for straight edges.
- Let glue dry fully before adding pages.
- Avoid too many bulky decorations near the spine.
If the cover bends or warps, place it under a stack of books overnight. This helps flatten it and gives it a cleaner shape.
Final Takeaway
Making a scrapbook cover is a fun way to turn simple supplies into something personal and beautiful. With cardboard, pretty paper, neat wrapping, and a few creative decorations, you can make a cover that feels gift-worthy and full of personality.
Start with a simple size, choose a theme you love, and decorate slowly with colors and details that match your memories. Save this scrapbook cover idea for later and use it whenever you want to make your photos, notes, and keepsakes feel extra special.