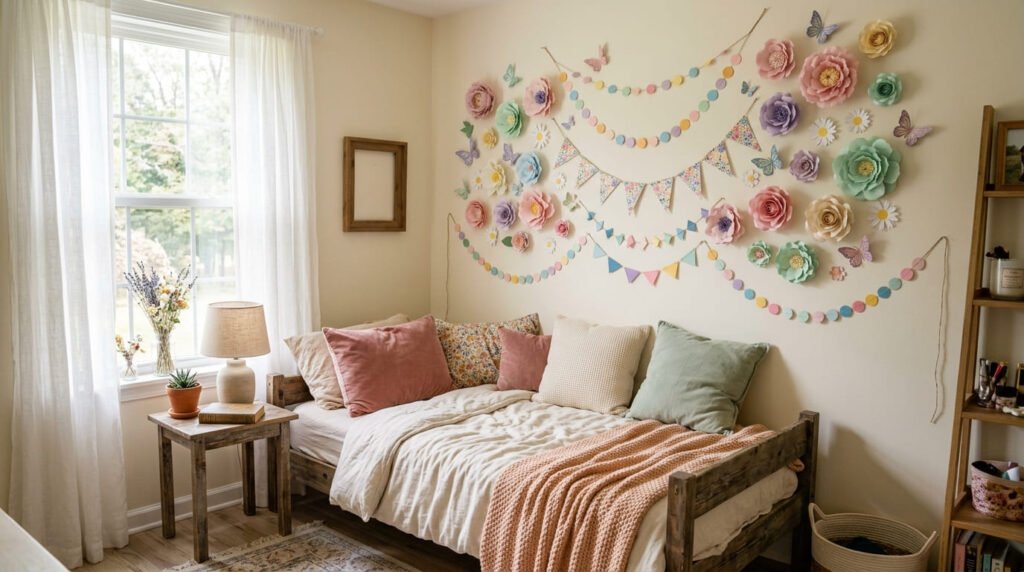
A room makeover does not have to mean buying new furniture, expensive wall art, or fancy decor. Sometimes, all you need is paper, scissors, glue, and a little creativity. Paper wall decorations can make a plain wall look colorful, cozy, and stylish without spending much money.
The best part is that paper decor is easy to customize. You can make it soft and minimal, bright and playful, floral and feminine, or bold and modern. Whether you are decorating a bedroom, dorm room, nursery, classroom, or party backdrop, paper wall decorations are a simple way to refresh your space on a budget.
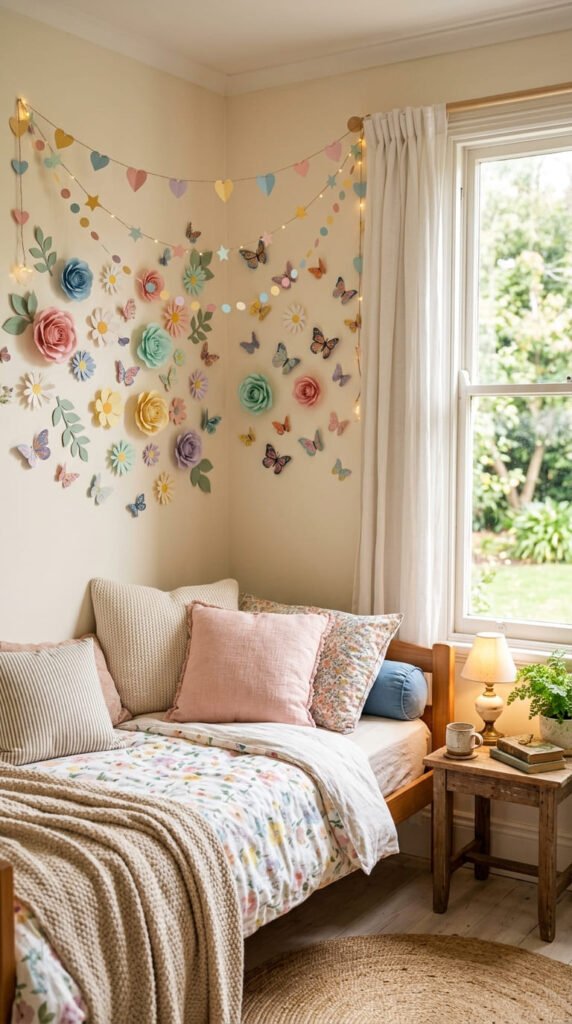
Choose a Wall and Pick Your Style
Before cutting anything, decide where your paper wall decor will go. This helps you choose the right size, colors, and design.
Good wall spots include:
- Above a bed
- Around a mirror
- Behind a desk
- Beside a bookshelf
- Near a reading corner
- On a blank hallway wall
- As a party photo backdrop
Now choose your style. For a calm room, use white, cream, beige, sage, or soft pink paper. For a fun room, try rainbow colors, bright florals, or bold geometric shapes. For a modern look, use black, white, gold, or one single color in different shades.
A clear style makes your wall decor look planned instead of messy.
Simple Supplies You Need
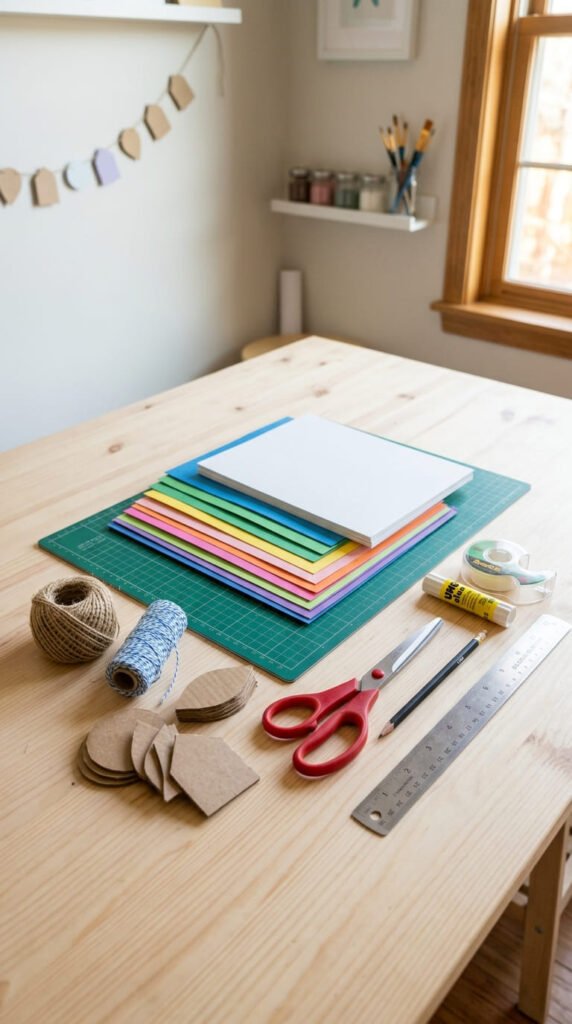
You do not need a big craft kit. Start with basic supplies you probably already have.
You will need:
- Colored paper or cardstock
- White paper
- Scissors
- Glue stick or craft glue
- Double-sided tape
- Pencil
- Ruler
- String, thread, or yarn
- Cardboard for backing
- Removable wall tape
Cardstock is best for 3D flowers, butterflies, and shapes because it holds form well. Thin paper works better for garlands, fans, and lightweight hanging decor.
Make Easy Paper Flowers
Paper flowers are one of the prettiest wall decoration ideas. They look full, soft, and perfect for bedrooms, nurseries, and party walls.
To make a basic paper flower:
- Cut several petal shapes in three sizes.
- Curl the edges with a pencil.
- Glue the large petals in a circle.
- Add medium petals on top.
- Finish with small petals or a paper circle in the center.
Make flowers in different sizes for a more natural look. Large flowers can become the main focus, while small flowers fill empty spaces.
For a budget makeover, use leftover paper, old book pages, magazine pages, or plain white printer paper. Even simple paper can look beautiful when layered well.
Create 3D Paper Butterflies
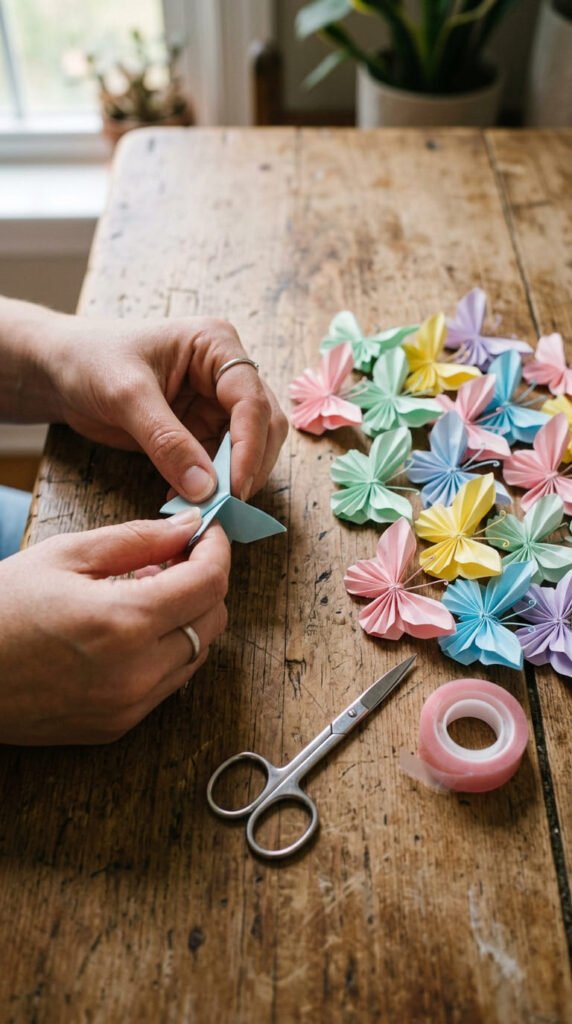
Paper butterflies are perfect if you want a cute, floating wall design. They are easy to make and instantly add movement to a plain wall.
Fold a piece of paper in half, draw half a butterfly shape, and cut it while folded. When you open it, both wings will match. Then gently fold the center body so the wings lift upward.
You can arrange butterflies:
- Flying from one corner of the wall
- Around a mirror
- Above a desk
- Over a bed
- Mixed with paper flowers
- In a heart or wave shape
Use removable tape only on the center of the butterfly. Keep the wings free so they stay lifted and 3D.
Add Paper Garlands and Wall Hangings
If you want something easy but eye-catching, make paper garlands. They are great for filling larger wall spaces without using too much paper.
Try these simple garland ideas:
- Paper circles sewn or taped onto string
- Paper hearts hanging vertically
- Stars and moons for a dreamy wall
- Leaves for a nature-inspired look
- Rainbow strips for a colorful room
- Paper tassels for party decor
Cut repeated shapes, attach them to string, and hang them with tape or small hooks. You can hang garlands straight across the wall, in layers, or vertically from a wooden stick.
This is a great option for renters because it is lightweight and easy to remove.
Try a Layered Paper Wall Art Piece
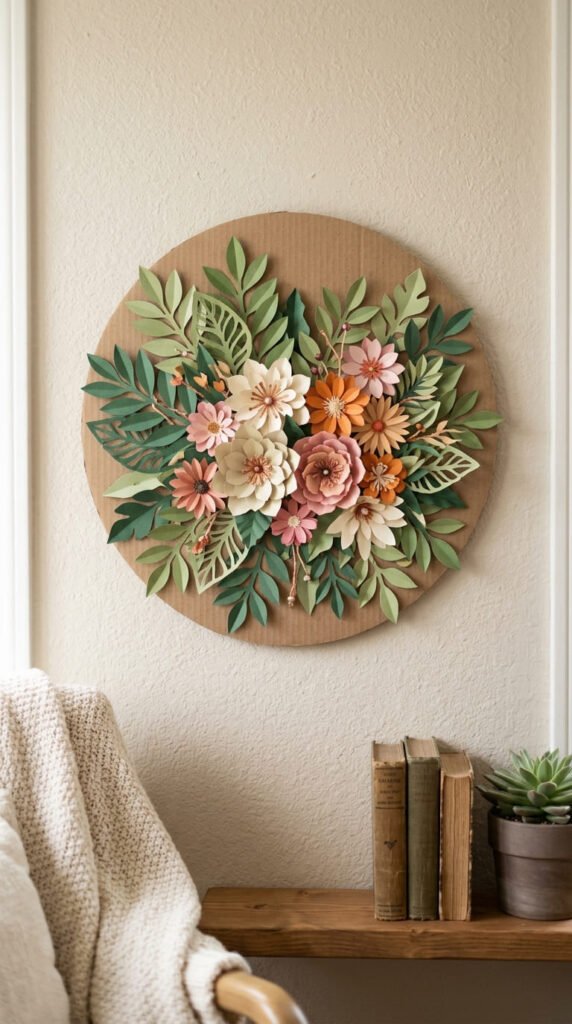
For a more polished look, make one large paper wall art piece. Use cardboard as a base, then glue paper shapes on top in layers.
You can make:
- A paper flower wreath
- A sunburst design
- A layered heart
- A circle mandala
- A paper leaf arrangement
- A geometric pattern
Start by drawing a light outline on the cardboard. Then place your paper pieces before gluing. This helps you check the design and spacing.
Use one color family for a clean look. For example, mix light pink, dusty rose, and burgundy. Or use white, cream, and gold for a soft elegant style.
How to Arrange Paper Decor on the Wall
The arrangement matters just as much as the craft itself. A simple design can look expensive when placed nicely.
Use these styling tips:
- Place large pieces first.
- Fill gaps with smaller pieces.
- Keep spacing even but not too perfect.
- Create movement with curves or waves.
- Use odd numbers for a natural look.
- Step back often to check the layout.
Before sticking everything to the wall, lay the full design on the floor. Take a quick photo so you can copy the arrangement on the wall.
For wall-safe mounting, use removable tape, poster putty, command strips, or lightweight hooks. Avoid strong glue directly on painted walls.
Budget Tips for a Pretty Finish
Paper wall decorations can look high-end with a few smart tricks.
Try these ideas:
- Use matte paper instead of shiny paper.
- Stick to 2 to 4 colors.
- Mix flat and 3D shapes.
- Add texture with folded paper fans.
- Reuse magazine pages or gift wrap.
- Make a large design from small repeated pieces.
- Keep edges clean and neat.
You do not need to cover the whole wall. Even one corner can make the room feel fresh and styled.
Final Takeaway
Paper wall decorations are one of the easiest ways to give your room a budget-friendly makeover. With simple supplies, you can create flowers, butterflies, garlands, wall hangings, and layered art that looks cute, creative, and personal.
Start with one small wall section, choose your colors, and build your design slowly. Save this idea for later when you want a low-cost room refresh that still feels beautiful and Pinterest-worthy.