Ever crocheted a beanie that came out too tight, too floppy, or slid down over your eyes? You are not alone. The secret to a hat that fits every single time is not luck. It comes down to three things: the right yarn, a little head-size math, and knowing when to stop increasing. Get those right and you can make a snug, cozy beanie in about two hours. Let’s walk through it step by step.
Start With the Right Yarn and Hook
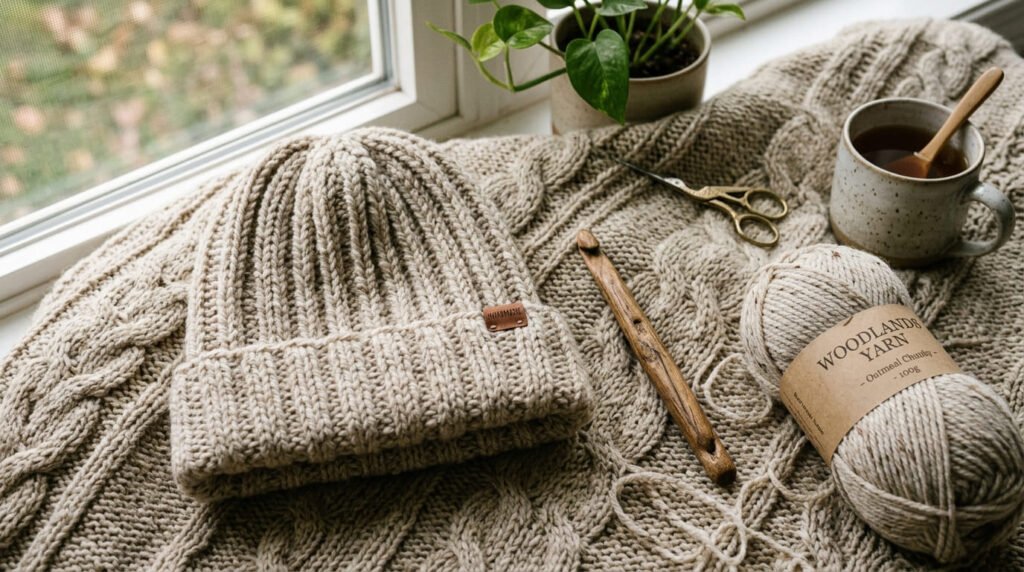
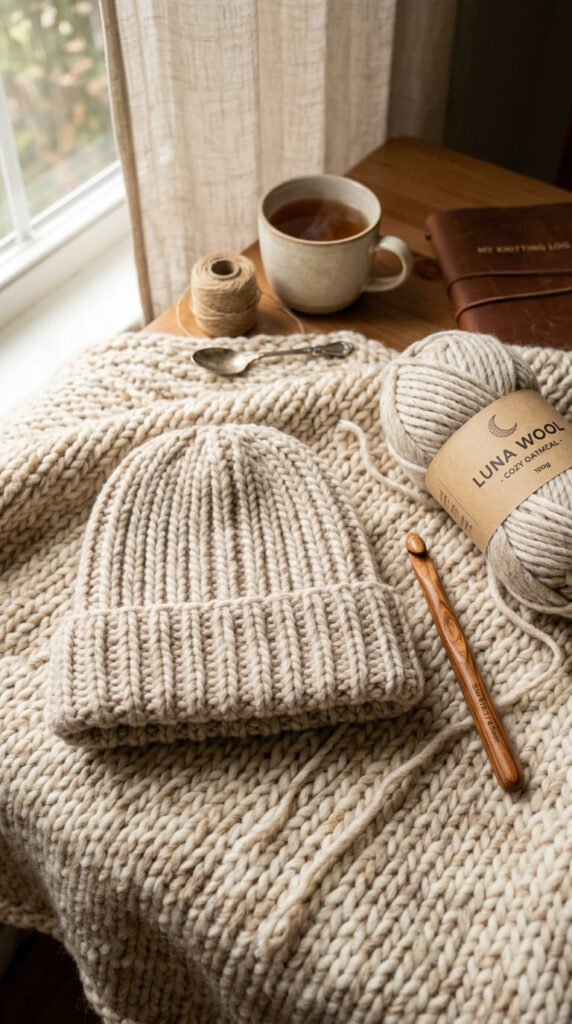
Your yarn choice changes everything. For a warm, quick beanie, reach for bulky (Category 5) yarn. One skein, around 200 yards, makes a full adult hat.
A few easy rules:
- Match your hook to the yarn label. If the label says 6 mm, use 6 mm.
- Skip variegated or fluffy yarn on your first try. A single light color makes counting stitches so much easier.
- Want cozy and chunky? Bulky yarn works up fast and feels extra warm.
Lion Brand options like Hue + Me or Color Made Easy are popular picks, but any bulky yarn in your stash will do.
Measure for a Perfect Fit
Here is the part most people skip, and it’s why hats end up wrong. Crochet stretches, so your hat should be smaller than the head it sits on. This is called negative ease.
- Subtract 1–3 inches from the head circumference.
- For stretchy ribbing, go for the full 2–3 inches smaller.
Quick sizing guide:
- Newborn: about 13–14 inches around
- Toddler: about 18 inches
- Adult medium: about 20 inches
So for a 20-inch head, aim for a finished hat around 18 inches. That snug fit is what keeps it from sliding down.
Pick Your Method: Flat or In the Round
You have two beginner-friendly ways to build a beanie. Both work great.
Flat rectangle (easiest):
- Crochet rows back and forth to make a rectangle.
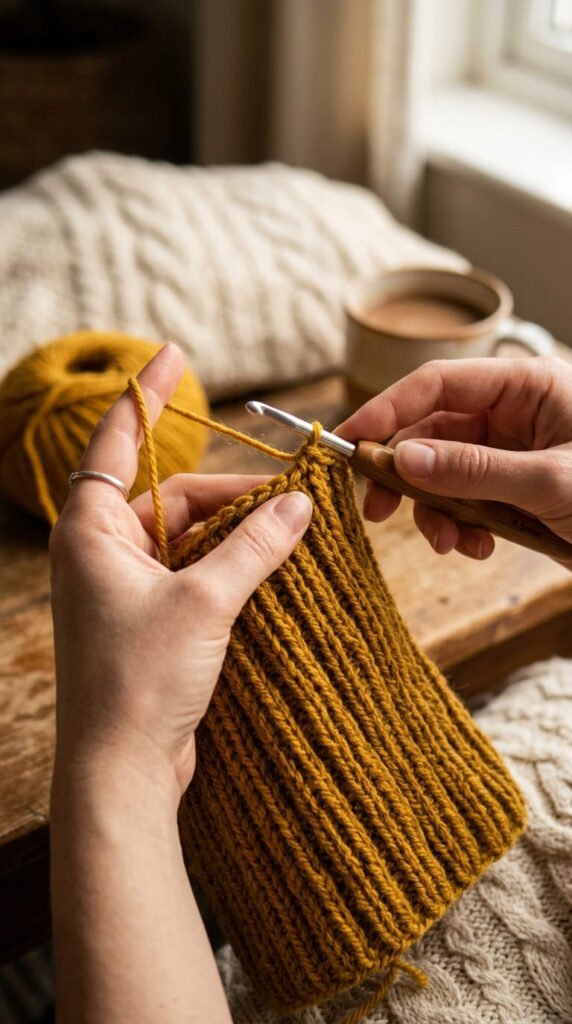
- Use half double crochet in the back loop only (hdc BLO) for that stretchy, knit-look ribbing.
- Seam the short ends together, then gather the top.
- No crocheting in the round at all, so there are no tricky joins.
In the round (traditional):
- Start with a magic circle.
- Build a flat crown using double crochet and increases.
- Keep going straight down once the crown is wide enough.
If circles and joins make your head spin, go with the flat method. It’s forgiving and fast.
Crochet the Body
For the flat method, the rhythm is simple. Chain enough stitches to reach your desired hat height (around 12 inches for a classic beanie with a fold-over brim). Then work hdc BLO across every row until the panel is long enough to wrap around the head measurement you calculated.
For the in-the-round method, watch your crown:
- Increase by working 2 stitches in one stitch, then 1 normal stitch, and repeat.
- Stop increasing when the flat circle matches your crown diameter. A quick formula: circumference ÷ 3.14. So an 18-inch hat needs about a 5.75-inch circle.
- Once you stop increasing, just keep crocheting straight down.
Close the Top and Add the Brim
Now bring it all together.
- Gather the top: Thread a darning needle and run long stitches along the top edge. Pull tight to cinch it closed. A double-wrapped knot keeps it secure.
- Seam the sides: A slip-stitch seam is quick and easy. Want it invisible? Use a mattress stitch with a yarn needle.
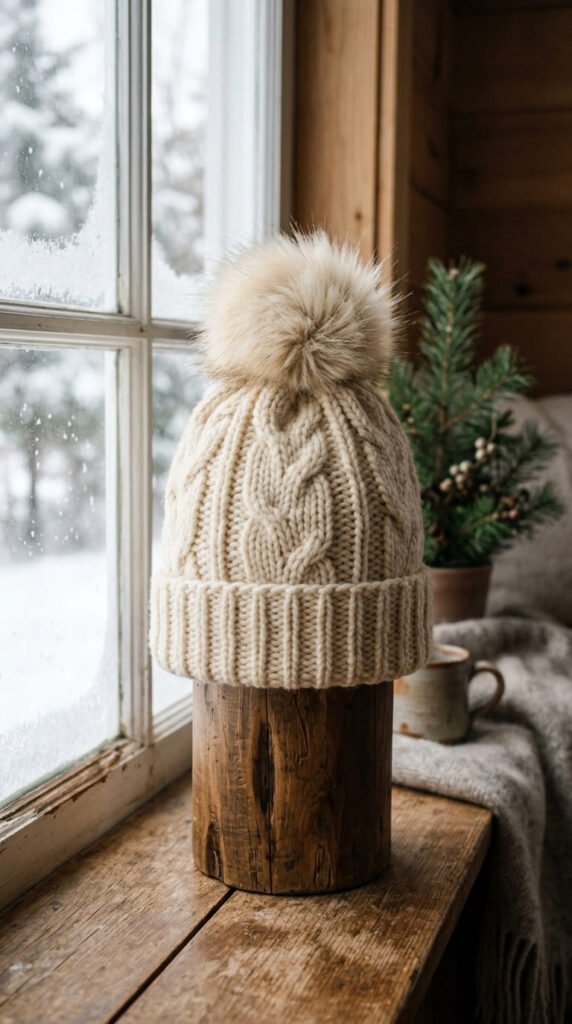
- Fold the brim: A 12-inch hat folds up into a cozy 2-inch brim. This double layer adds warmth around the ears.
Finishing Touches and Quick Fixes
Add a 4–6 inch faux fur pom-pom with an elastic loop for that boutique look. It clips on and off so the hat stays washable.
Hitting a snag? Try these:
- Hat too big? Your crown grew too wide. Keep measuring until it’s about 1 inch smaller than the head.
- Chain too tight? Use a hook one size larger just for the foundation chain.
- Lost your starting point? Each round usually starts in the chain 2, not the slip stitch.
- Top looks bunchy? Use more, smaller running stitches before pulling closed.
Your Cozy, Perfect-Fit Beanie
That’s it. Pick a bulky yarn, measure with a little negative ease, choose flat or round, and close the top neatly. In about two hours you’ll have a warm hat that actually fits, no guessing involved.
Save this guide for your next yarn haul, and try a bright 2026 shade or eco-friendly yarn for a fresh twist. Happy hooking!


