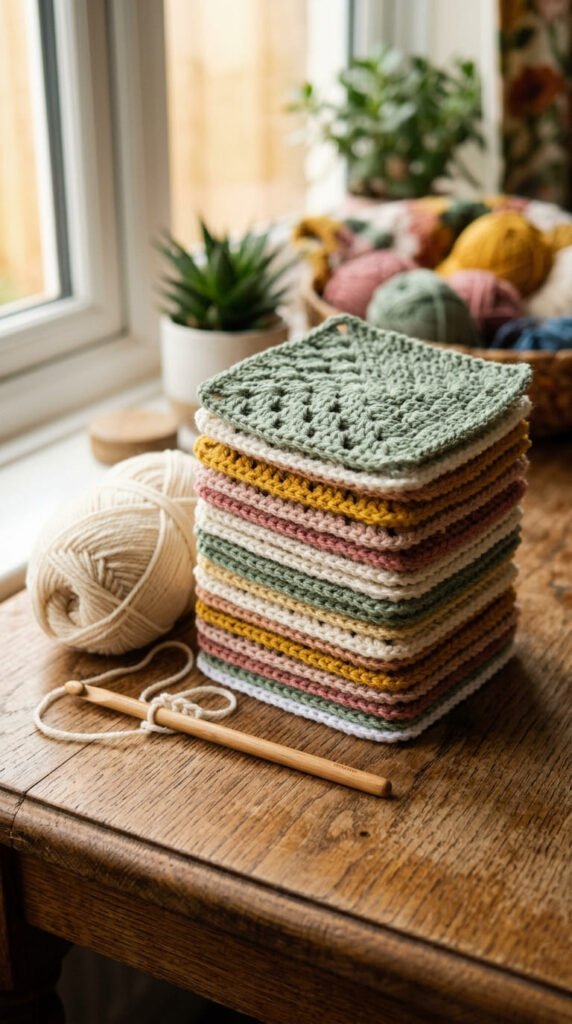
There’s a reason the granny square has been around for generations. It’s small, portable, endlessly repeatable, and once you learn it, you can make almost anything — blankets, totes, pillows, even baskets. Pinterest can’t get enough of them in 2026, and they’re delightfully easy to get hooked on.
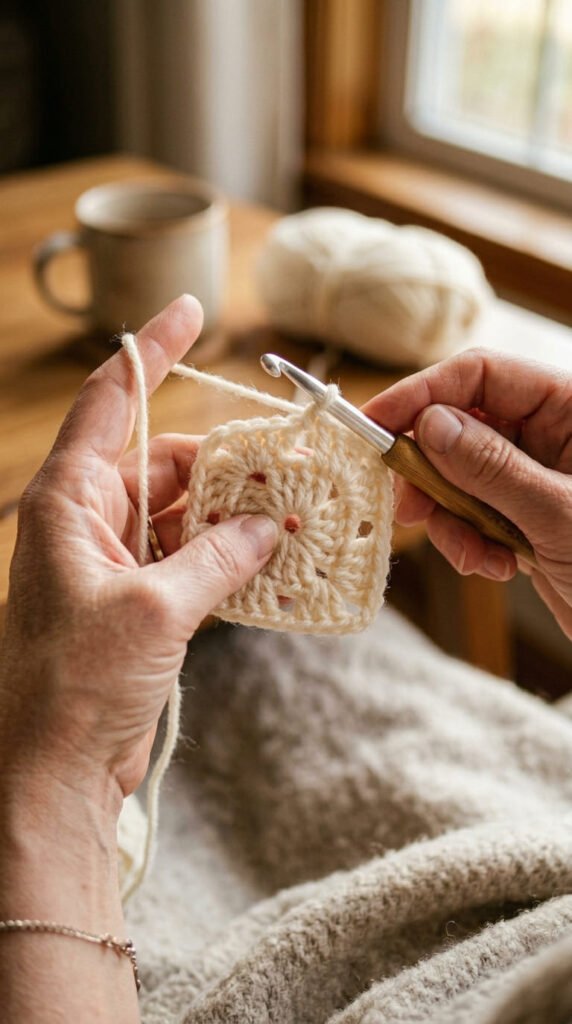
The best part? You only need one stitch you probably already know: the double crochet. Follow along and you’ll have a tidy little square by the end of this post.
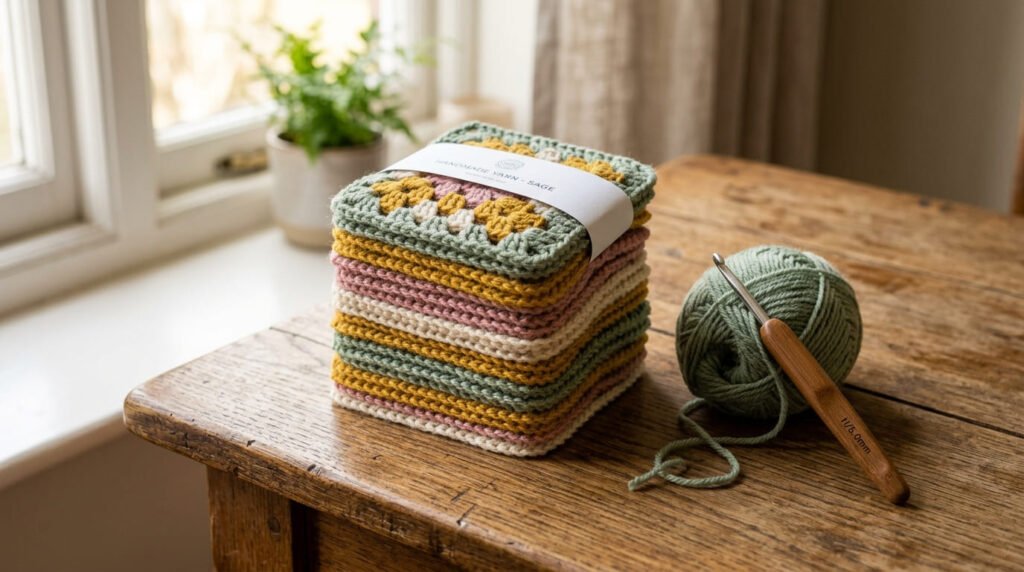
What You’ll Need
Keep it simple. A granny square needs almost nothing:
- Worsted weight yarn (DK like Stylecraft works beautifully)
- A 4.0mm (G) hook — a Clover Amour is comfy and smooth
- Scissors and a yarn needle for weaving in ends
Pick a light or medium color for your first square. Pale yarn makes the stitches easier to see, which helps when you’re learning.
Quick note on terms: This guide uses US terms. If your pattern is from the UK, their “treble crochet” is the same as the US “double crochet.” Always check which one your tutorial uses.
Step 1: Make the Center Ring
Every granny square starts with a ring.
- Make a slip knot on your hook.
- Chain 4 for a small center hole, or chain up to 10 for a bigger one.
- Join the chain into a ring with a slip stitch into the first chain.
That’s your base. Pull the tail snug but not tight.
Step 2: Crochet Round 1
Now for the fun part — building those little clusters.
- Chain 3. This counts as your first double crochet.
- Work 2 double crochets into the ring. That’s your first cluster.
- Chain 2 to make the first corner.
- Repeat: 3 double crochets, chain 2 three more times.
- You’ll have 4 clusters and 4 corners.
- Slip stitch into the top of that first chain-3 to close the round.
Look at your work. It should already look like a tiny square with four little fans pointing outward.
Step 3: Crochet Round 2
Round 2 is where the square grows. The rule is simple:
- Corners get two clusters with a chain 2 between them.
- Sides get one cluster.
Here’s the flow:
- Slip stitch over to the nearest corner gap.
- In that corner: 3 dc, chain 2, 3 dc.
- Chain 1, then work 3 dc into the next gap (that’s a side).
- Keep going around: 2 clusters in each corner, 1 cluster on each side.
- Slip stitch to close.
The golden rule: chain 2 at corners, chain 1 between side clusters. Mixing those up is the most common beginner slip, so keep it in mind.
Step 4: Round 3 and Beyond
Once you’ve done Round 2, every round after follows the exact same logic:
- Corners: 3 dc, chain 2, 3 dc
- Sides: 3 dc into each gap, with a chain 1 between clusters
The square gets one cluster bigger on each side per round. Keep going until your square reaches the size you want.
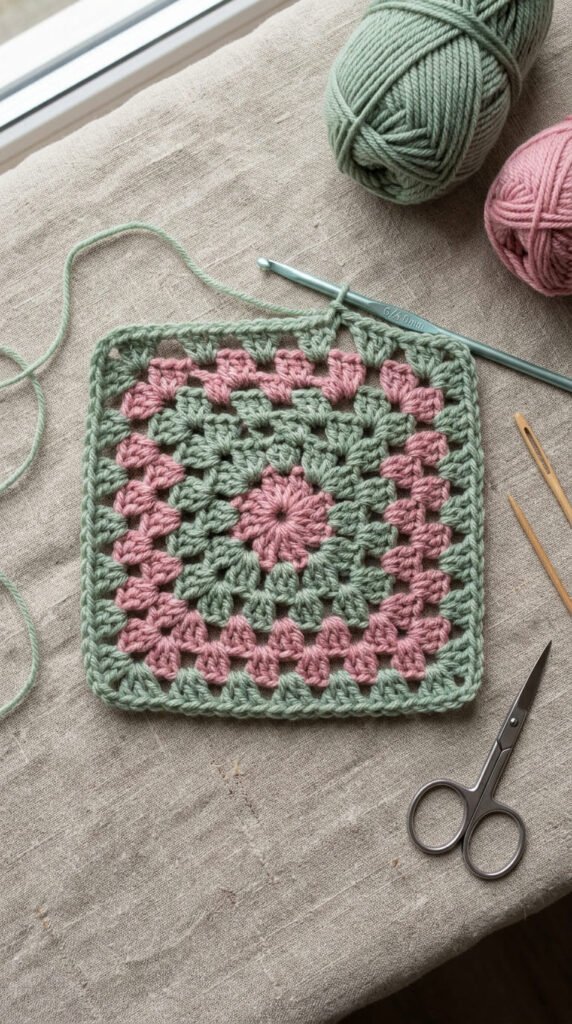
Changing Colors (The Easy Way)
Want a rainbow square? Color changes happen at the end of a round.
- Finish your round and slip stitch to close.
- Cut your old yarn, leaving a short tail.
- Join the new color with a slip stitch into a corner gap.
- Chain 3 and carry on as normal.
Tip: weave in your ends as you go instead of leaving them for later. Future-you will be grateful.
Tips for a Flat, Tidy Square
A few small habits make a big difference:
- Pull your square into shape every few rounds. A gentle tug keeps it square instead of wonky.
- Count your clusters at the end of each round. Even numbers on each side mean an even square.
- Keep your tension relaxed. Tight stitches make a stiff, curling square.
- Block it at the end. A light steam or wet block makes the square lie perfectly flat.
If your square looks a little lumpy mid-project, don’t panic. Most of that smooths out once you block it.
Turn Your Squares Into Something
Once you’ve got the hang of it, the possibilities open up:
- Baby blanket: 16 squares (4×4) or 25 squares (5×5)
- Tote bag: join a handful of squares and add a strap
- Pillow, coasters, or a cozy garland for quick wins
Make one square a day and a blanket appears before you know it.
You’ve Got This
The granny square feels like magic once it clicks — four clusters, four corners, repeat. Take it one round at a time, keep your corners and sides straight, and give it a gentle block at the end. Your first square doesn’t have to be flawless; it just has to get you started.
🧶 Save this guide to your crochet board and grab your hook — your first granny square is only a few rounds away. Happy hooking!


