We’ve all tried it. You set out to sculpt a cute little fox, and somehow end up with a lumpy potato that has legs. The good news? Adorable clay animals are way easier than they look. The secret isn’t talent — it’s knowing how to break an animal down into simple shapes and avoid the few rookie mistakes that ruin everything.
Grab some clay and let’s make something you’ll actually want to keep on your shelf.
Start With a Side-View Photo
Before you touch the clay, find a good reference photo of your animal from the side. This is the single best thing you can do for a cute result.
Why? Because it shows you the real proportions. How big is the head compared to the body? How short are the legs? Your brain will guess wrong, but a photo won’t.
Pull up a picture on your phone and keep it next to you the whole time.
Cute tip: For an adorable look, slightly exaggerate. Bigger head, rounder body, tinier legs. That’s the chibi trick that makes anything instantly cuter.
Pick the Right Clay
Your clay choice changes everything, so choose based on what you’ve got:
- Air-dry clay — Best for beginners. No kiln, dries on its own. Use a wire armature inside for legs and necks.
- Polymer clay (like Sculpey) — Stays soft until you bake it in a home oven. Great for tiny detailed animals.
- Pottery clay — Needs firing in a kiln. Never put a wire armature in this — the wire can’t be fired and the clay shrinks around it.
For your first adorable animal, grab affordable air-dry clay like DAS or JOVI.
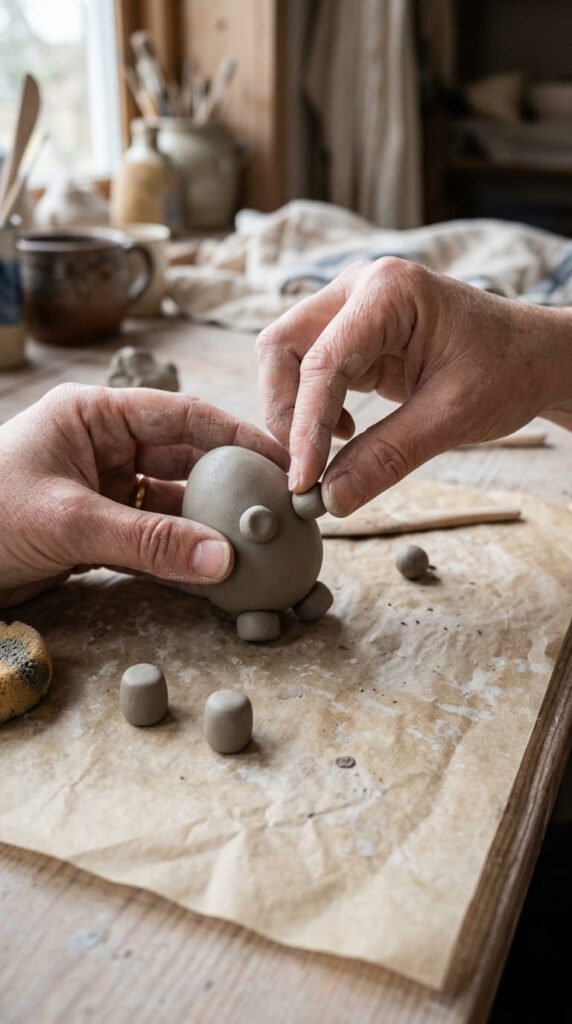
Build From Basic Shapes
Here’s the whole magic trick: every animal is just simple shapes stuck together.
- Body → an oval or egg shape
- Legs → little columns or stubby cones
- Head → a ball
- Ears, tails, beaks → small added pieces
Roll each shape separately first. Then assemble them like building blocks. Don’t try to pull a leg out of the body — make it separately and attach it.
Join Pieces the Right Way (Score and Slip)
This step keeps your animal from falling apart as it dries. Skip it and the legs will pop off.
To attach any two pieces:
- Score — scratch crosshatch lines into both surfaces with a needle tool or toothpick.
- Slip — dab a little water onto the scratched spots.
- Press — push them together and smooth the seam with a damp finger.
That’s it. Do this for every leg, ear, and tail.
Solve the “Wobbly Legs” Problem
Fresh clay is soft. Your cute animal will flop over and refuse to stand. This is the #1 frustration, and there are easy fixes:
- Make legs thicker than real life. Long-legged animals like deer or giraffes need chunky legs to hold the body up. Skinny equals snapped.
- Use a sponge for support. Prop the body up while it firms up.
- Let legs dry first. Make the legs, let them stiffen a bit, then attach the body.
Clay gets firmer as it dries, so a little patience here saves heartbreak later.
Add the Adorable Details
Now the fun part. Tiny details are what turn a blob into a character.
- Press two small balls for chunky cheeks
- Add a little smile with the tip of a toothpick
- Make the eyes slightly low and far apart — this reads as cute, not creepy
- Keep ears soft and rounded, not pointy
Less is more here. A few simple touches beat a hundred fussy ones.
Dry It Slowly, Then Paint
Patience now pays off in no cracks later.
- Air-dry animals take 1–3 days depending on size and thickness.
- Dry slowly in a cool spot. Rushing causes cracks.
- If a crack appears, fill it with a little clay-and-water paste and smooth over.
Once fully dry:
- Prime with gesso so paint sticks evenly.
- Paint large areas first (the body color), then add fine details — spots, stripes, eyes.
- Seal with a spray varnish to protect it. Matte for the body, a dab of gloss for the eyes makes them pop.
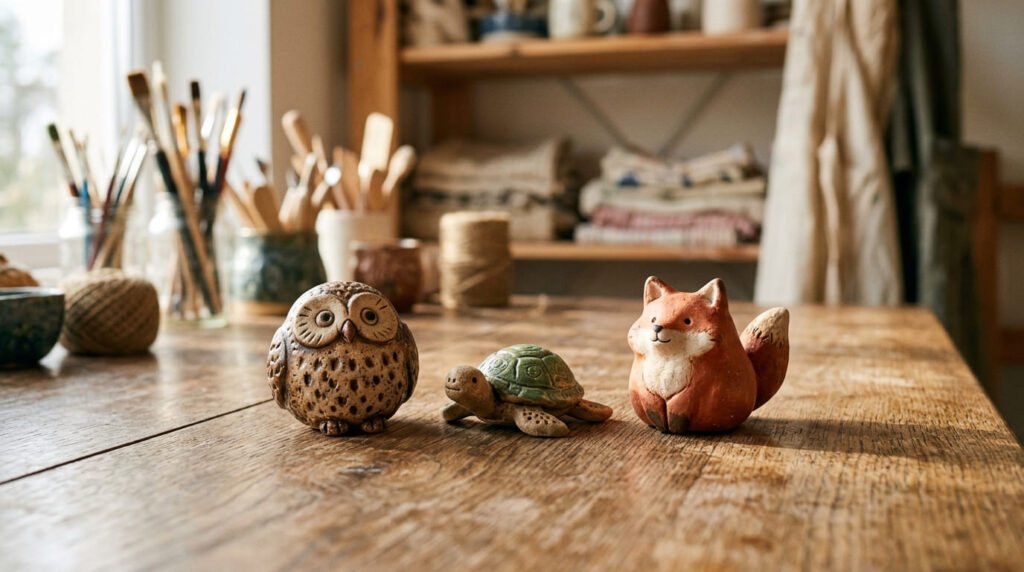
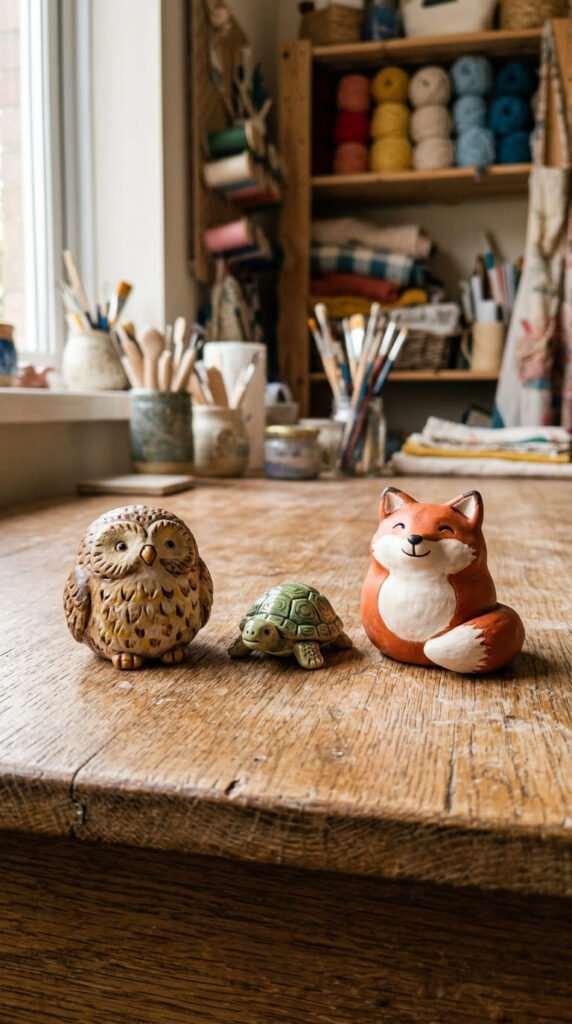
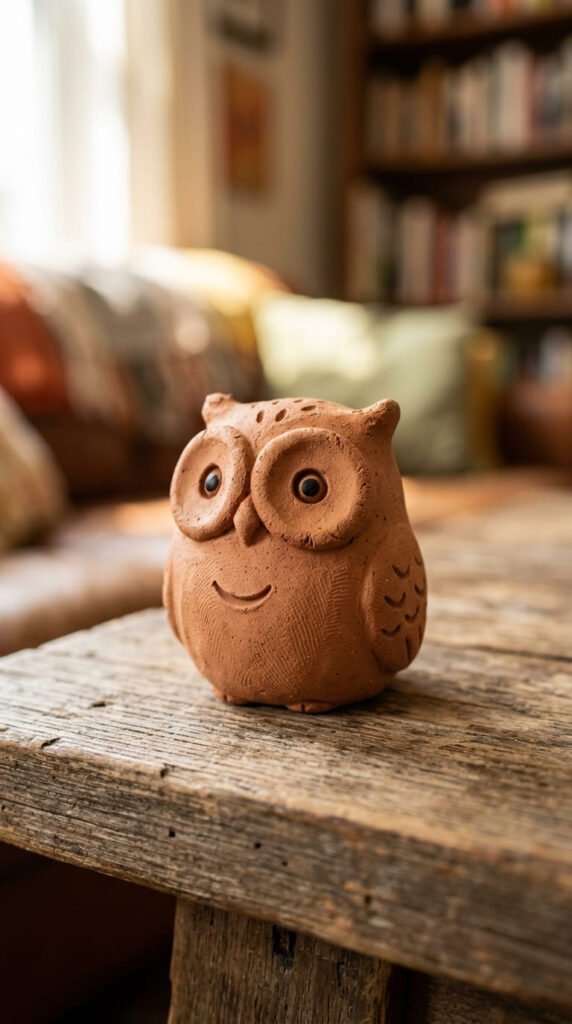
Easy First Animals to Try
Want a guaranteed win? Start with one of these crowd favorites:
- Owl — basically a pinch pot with eyes. The easiest cute animal there is.
- Turtle — a dome shell on a flat body, super forgiving.
- Little bird — one rounded shape, a beak, and a tail.
Your Turn to Get Sculpting
Adorable clay animals come down to simple shapes, thick little legs, and a few well-placed details. Don’t aim for perfect — the slightly wonky, handmade charm is exactly what makes them lovable.
Pick one animal, grab your clay, and give it a try this afternoon. Save this guide for your next craft session — and pin it so you can come back when you’re ready for animal number two! 🦊


